


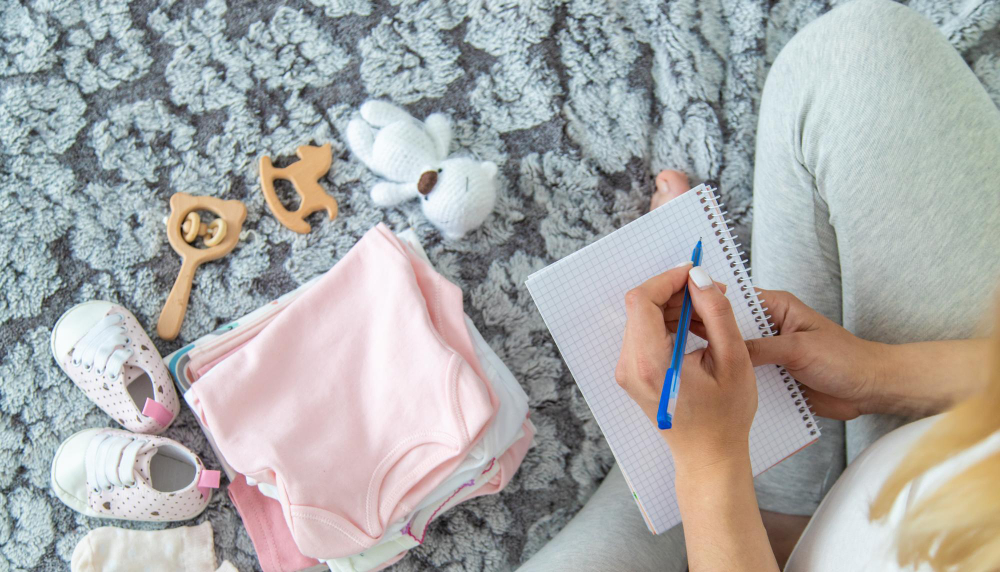
A baby registry starts to sprawl as soon as everything goes in at once: the essentials, the cute extras, the borrowed items, what you might end up needing, and what someone was already planning to give.
The most useful way to put it together is not to lose a whole afternoon to it, but to lock in a clear first version in simple stages. In a first session you can settle the important things and share a registry that makes sense at a glance.
The stages worth settling first
- Stage one: lock in what you'll use every day when you get home.
- Stage two: sort out sleep and safety without leaving critical decisions until the end.
- Stage three: decide how you'll get around outside the house based on your real routine.
- Final stage: set priorities, reservations, and alternatives so the registry works when you share it.
Stage one: lock in daily essentials
Start with what repeats several times a day. This is not the moment to decide on brands or extras: just lock in the categories for the first week.
- Feeding: add only the basics that fit your initial plan. Many accessories are easier to decide on once the baby is already home.
- Diaper changes and hygiene: diapers, wipes, cream, and a comfortable changing spot. A portable changing mat solves a lot if you do not want to dedicate a whole piece of furniture to this task.
- First outfits: a few bodysuits and sleepers, not a full wardrobe. Small sizes are outgrown very quickly and usually end up being extra rather than missing.
If an item will not change your first week, it can come out of this block without any problem.
Stage two: settle sleep and safety
This part is less negotiable: if it affects safety or the space where the baby will sleep, it is worth settling before birth.
- Sleep: crib, bassinet, or a safe co-sleeping setup. Choose the option that truly fits your bedroom and have it assembled, not pending.
- Car seat: if you'll be driving home, this belongs here no matter what. If you do not normally use a car, this category can drop in priority.
- Basic room setup: a room thermometer is usually enough to start. The rest of the devices can wait until there is a real need.
Stage three: choose the mobility setup that fits your day
The key here is to think about your real routine, not the ideal catalog picture.
- Stroller or babywearing: if you live with stairs, a small elevator, or short daily routes, a bulky system can make things harder than it helps.
- Going-out bag: you do not need a specific diaper bag if you already have something comfortable. What matters is that the basics fit and are easy to find.
- Fit with everyday life: weigh up car use, neighborhood, public transport, and space at home before the number of pieces.
If a decision makes you picture awkward maneuvers every day, it is not a good decision for this block.
Final stage: get the registry ready to share
- Label each item as urgent, useful soon, or can wait. Three levels are enough for anyone to see at a glance what helps most.
- Always show a clear status: open, already chosen, or covered. Without that, the registry looks tidy but does not prevent duplicates. If you want to refine this part, this guide to avoiding duplicate gifts can help.
- Prepare an alternative for the items likely to attract the most interest. That way you do not have to improvise if someone comes late or something sells out.
- Review quantities before publishing: too many small-size clothes and too many just-in-case accessories usually create more leftovers than solutions.
How to simplify the registry if you have less time or are finishing it with several people
It does not have to be perfect on day one. If today you can only make progress on one part, the priority is for the registry to go out with a clear structure and be easy to complete later.
- If today you can only move part of it forward, sort out daily essentials, sleep, and safety first. Sharing a short registry with visible priorities helps more than leaving a full registry half done.
- If several people are deciding, split the work by stages but leave the final sign-off to one person. That last filter avoids mixing criteria and repeating items out of enthusiasm or habit.
- If the event is close, review statuses, urgencies, and alternatives before adding more items. What matters is not making the registry bigger, but helping it guide people well from the first glance.
Common questions
How many items is it worth having at the beginning?
As a starting point, between 15 and 25 prioritized items usually works well. It is not an exact target: it matters more that each item makes sense and has a visible priority than piling up options.
How do you make priorities easy to understand quickly?
Use three levels and name them exactly as they are read: urgent, useful soon, and can wait. More categories usually make choosing harder instead of clearer.
What if two people want the same item?
If the registry allows reservations, the first reservation stands. If it does not, handle it with an alternative already prepared for that item and avoid coordinating it through last-minute messages.
How often should you review it?
Once a week is usually enough while there is still time. If the event is close, a review every 48 hours keeps statuses and priorities up to date without turning it into another big task.
The first version already does the job
A useful registry does not start complete: it starts clear. If on a first pass you have separated what is urgent, what will be useful soon, and what can wait, you have already done the hardest part.
After that, you only need to review, adjust, and remove what is unnecessary. That maintenance is much easier when the foundation is already organized from the start.

Written by
SmileBaby editorial teamExperts in maternity, baby, and family organization
Guides, ideas and resources to prepare for your baby's arrival.
You may also like
More helpful reads for common questions at this stage.

Jun 01, 2026
Multi-store baby registry: what to check before choosing an app
A multi-store baby registry is more than collecting links from different shops. Here are the criteria to review before choosing an app so family and friends can understand the list without extra back-and-forth.

Apr 14, 2026
First 7 Days at Home with Your Baby: What to Prepare Before Leaving the Hospital
Have ready what you really use after coming home from the hospital: sleep, diaper changes, feeds, clothes, and essentials without filling the house with extras.

Mar 16, 2026
Baby Shopping by Trimester: What to Sort Early and What Is Not Worth Rushing
Organize baby purchases around real stages: what to look at early on, what to lock in with time to spare, and what to leave until later so you get there with less rush and less impulse spending.

Mar 25, 2026
Hospital bag for labor: what to bring, what to ask, and what to leave out
Pack your hospital bag without overloading it, separating essentials from what depends on the hospital and what only adds comfort.